Practical tutorial
Learn how to use hitem3d from prompt to model
This guide explains how to use hitem3d for a first 3D result, from preparing your input to checking the generated mesh and refining the next attempt.

Quick answer
Prerequisites
A successful first run depends more on a clear input and a simple goal than on advanced 3D experience.
- InputA short description with subject, style, pose, and intended use gives hitem3d a clearer starting point.
- ReviewThe first generated mesh is a starting asset, so inspect its silhouette, proportions, and missing details before exporting.
- RefineThree focused revisions usually work better than one long prompt packed with unrelated requirements.
- ChooseImage references can help define appearance, while a written prompt is better for specifying structure and function.
Core workflow
Numbered steps
Use this three-stage loop to move from a defined idea to a model you can inspect, revise, and prepare for another tool.
-
1
Define one clear object
Start with a single subject and describe its form, viewpoint, style, and use. For example, request a low-poly desk lamp rather than an entire room scene.
-
2
Generate and inspect
Submit the prompt or reference image, then examine the silhouette, major parts, surface continuity, and whether the output matches the intended scale and orientation.
-
3
Revise with one change
Identify the most visible problem and adjust only that area in the next attempt. Specific revisions make it easier to tell which instruction improved the result.
Troubleshooting
Common errors and fixes
Most first-run problems are caused by ambiguous inputs, excessive detail, or judging the model before checking its basic form.
-
The prompt describes several unrelated objects. — Keep the first request focused on one main object and add surrounding elements later.
-
The reference image has a busy background or hidden sides. — Use a centered subject with good contrast and enough visible shape information.
-
The output has thin parts, fused details, or weak contact points. — Simplify delicate features and state that the object should have sturdy, connected forms.
-
The model looks attractive but is not useful for the next step.optional — Clarify whether the goal is a render, game asset, animation base, or physical 3D print.
-
The second attempt changes too many variables.optional — Keep the subject and style stable while changing one instruction at a time.
Keep exploring
Advanced tips
Once the basic loop feels familiar, these related workflows help you choose a better input and plan the next stage.
- hitem3d ai-powered 3d model generator See how the generator fits text prompts, visual references, and iterative 3D creation.
- image to 3d model Compare an image-first workflow when the appearance of the object matters most.
- hitem3d blender Plan the handoff when your generated model needs editing, materials, or scene work in Blender.
Quality check
Compare the first pass with the target
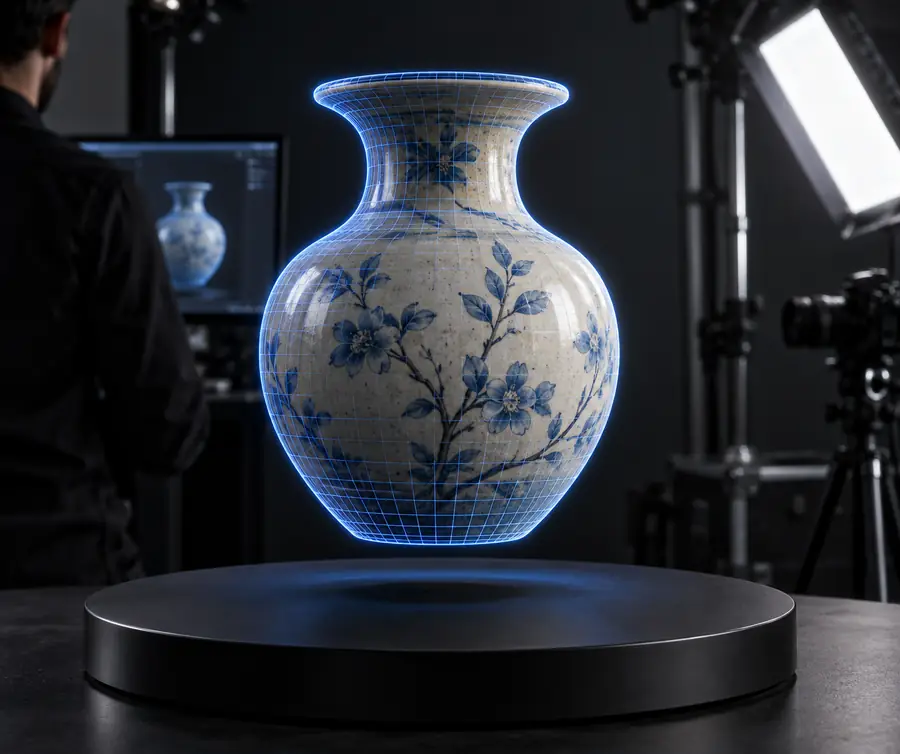
Use a simple before-and-after review to separate prompt problems from geometry problems before making another revision.
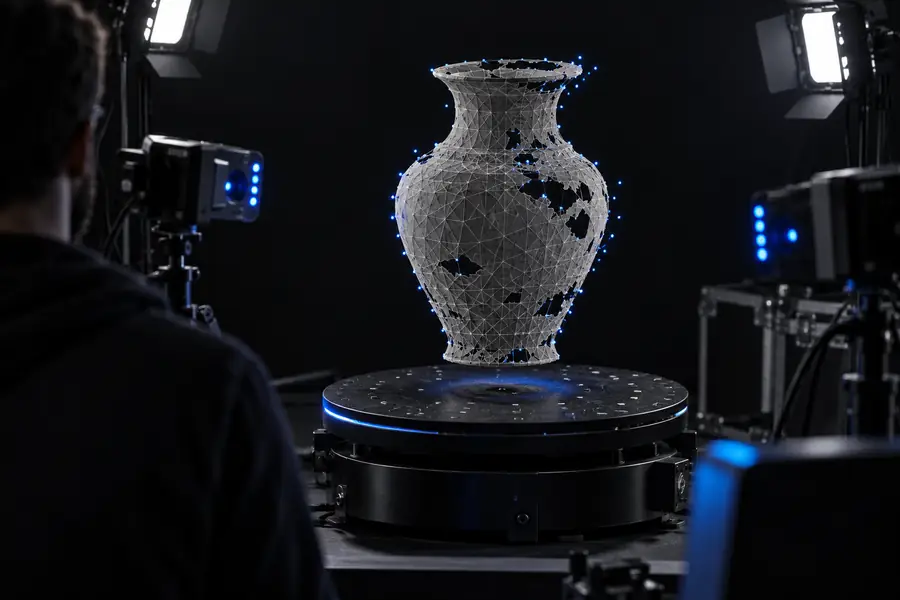
First pass
Check silhouette first, then details, surfaces, and intended use.
Refined pass
Workflow context
How the 3D workflow evolved
The modern process combines familiar modeling decisions with faster generative exploration, so each stage still benefits from human review.
-
Digital modeling becomes practical
Artists began building objects through polygons, curves, and basic surface tools instead of relying only on physical prototypes.
-
Reference images enter everyday production
Photographs, concept art, and texture references became central inputs for games, animation, product visualization, and design.
-
Real-time previews shorten feedback loops
Faster graphics hardware made it easier to inspect lighting, materials, and form while an asset was still being developed.
-
Generative 3D adds a rapid first pass
Tools such as hitem3d let creators explore a model direction from text or images before committing time to detailed manual work.
-
Review remains the quality gate
The useful workflow is not generate once and stop; it is generate, inspect, revise, and prepare the result for its real destination.
Choose your path
Tutorial paths for different users
The same hitem3d workflow changes slightly depending on whether you are exploring an idea, preparing an asset, or making something physical.
Beginner
Start with one recognizable object
For a first attempt, choose an object with a clear silhouette and limited small details. A toy, simple prop, animal bust, or rounded household item makes it easier to judge whether hitem3d understood the request.
- Name the object before describing its style.
- Use one viewpoint and one main material.
- Revise the largest visible issue first.
Creators
Use hitem3d for concept iteration
Creators can use hitem3d to test shape directions before investing in detailed sculpting or modeling. Save the strongest prompt, compare variations, and keep the version whose proportions best support the project.
- Try controlled variations of style and proportion.
- Keep notes about what each revision changed.
- Treat the output as a concept asset until it passes inspection.
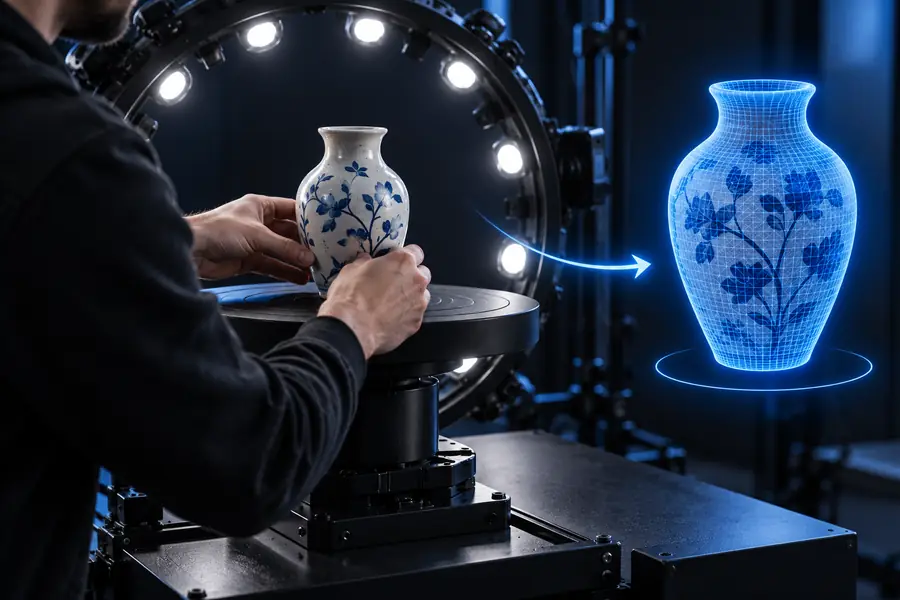
3D printing
Prepare a sturdy physical form
For printing, describe a solid object with connected parts and avoid relying on features that are extremely thin or floating. After generation, inspect the mesh in a suitable editor and make any required repairs before slicing.
- Prefer stable bases and supported overhangs.
- Avoid fragile tips and hair-thin decorations.
- Check scale, wall thickness, and manifold status downstream.
Make the first pass
Use a focused prompt, inspect the result, and revise with purpose. Hitem3d is most useful when it removes the blank page and gives you a concrete model to evaluate.
Turn a clear idea into a 3D starting point
- Start from text or an image
- Review the silhouette before fine detail
- Refine one visible issue at a time
Tutorial FAQ
Tutorial FAQ
These answers cover the beginner questions people ask before trying the workflow for themselves.
Start with one simple object and describe its subject, style, major shape, and intended use. Generate a first pass, inspect the silhouette and obvious defects, then revise one issue at a time rather than rewriting everything.
Prepare either a concise description or a clear reference image, plus a basic idea of what the model is for. A centered subject, visible contours, and a realistic level of detail make the first result easier to evaluate.
Use concrete nouns and prioritize the largest forms before adding style or small features. If the result is close but not right, preserve the useful parts of the prompt and change only the instruction connected to the main problem.
You can use it to explore and create a starting model for a print workflow, but the generated result should be checked in a suitable 3D editor first. Confirm scale, connected geometry, wall thickness, and support needs before slicing.
Use text when the structure or function is easier to explain than to photograph. Use an image when the visual identity, proportions, or surface appearance matters most; a clean reference usually gives the model a stronger direction.