AI 3D creation

Build 3D assets with hitem3d ai-powered 3d model generator

The hitem3d ai-powered 3d model generator turns a clear idea or visual reference into a practical 3D starting point for design, prototyping, storytelling, and making.

Free to start · no signup
Hitem3d AI-generated 3D model workspace

Core capabilities

One idea, a usable 3D starting point

Hitem3d separates the creative work into three useful moves: interpret the input, shape the object, and prepare the result for the next tool.

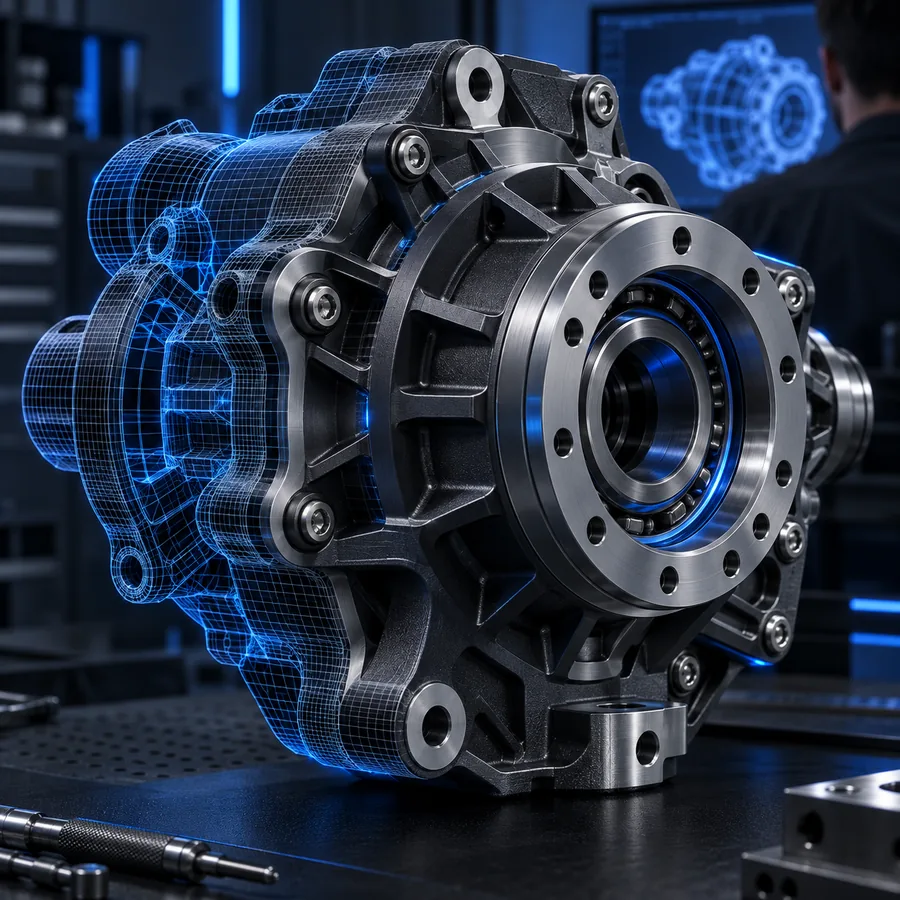
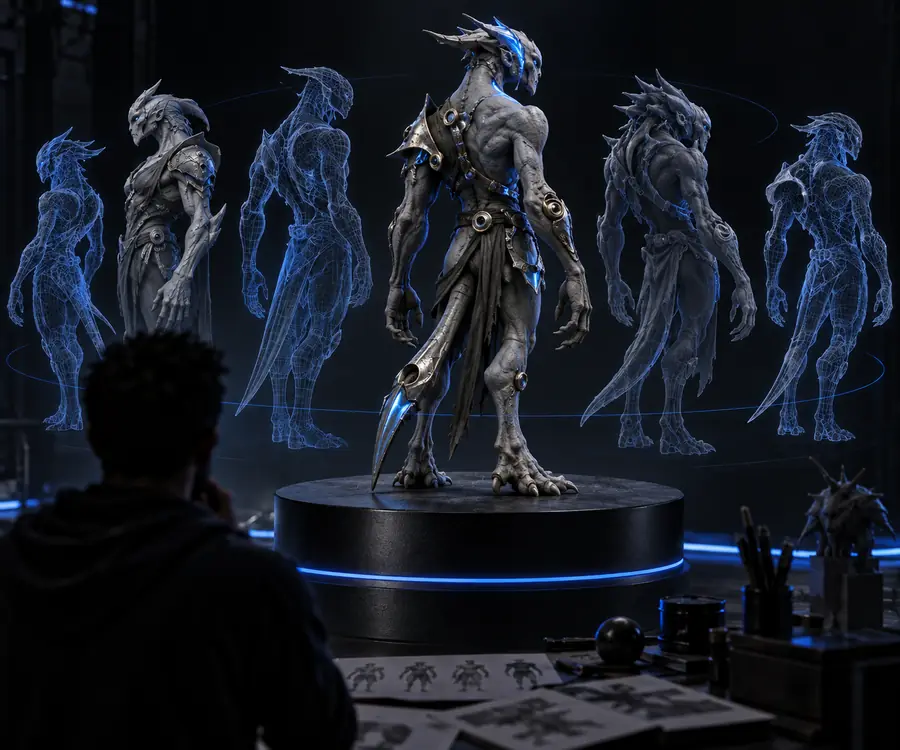
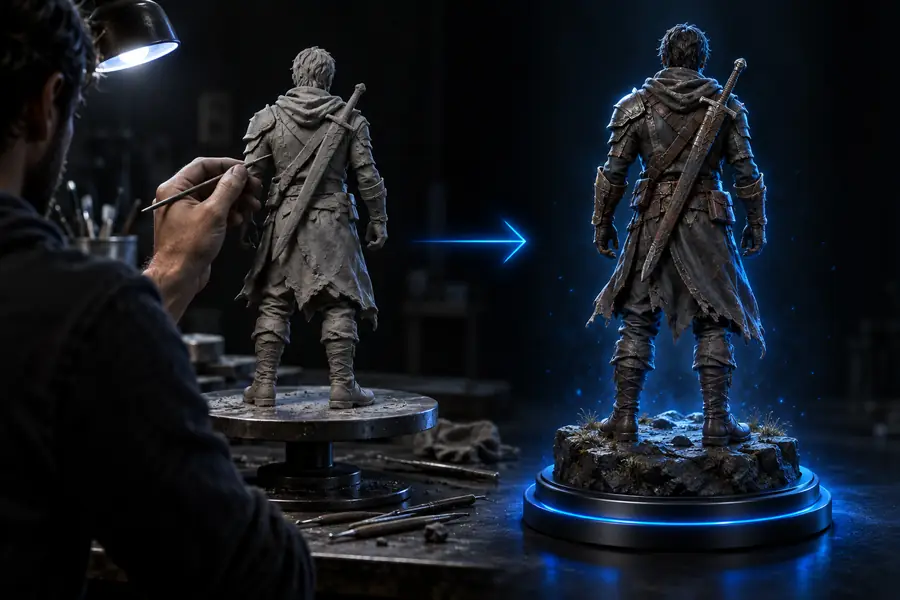
AI-generated 3D character concept Input

Step 1

Understand the visual brief

The generator reads the main subject, silhouette, pose, and visual style in a prompt or reference image. Specific nouns and visible features give it a stronger basis than broad instructions such as “make something cool.”

  • Describe the subject first
  • Name distinctive features
  • Use style words sparingly
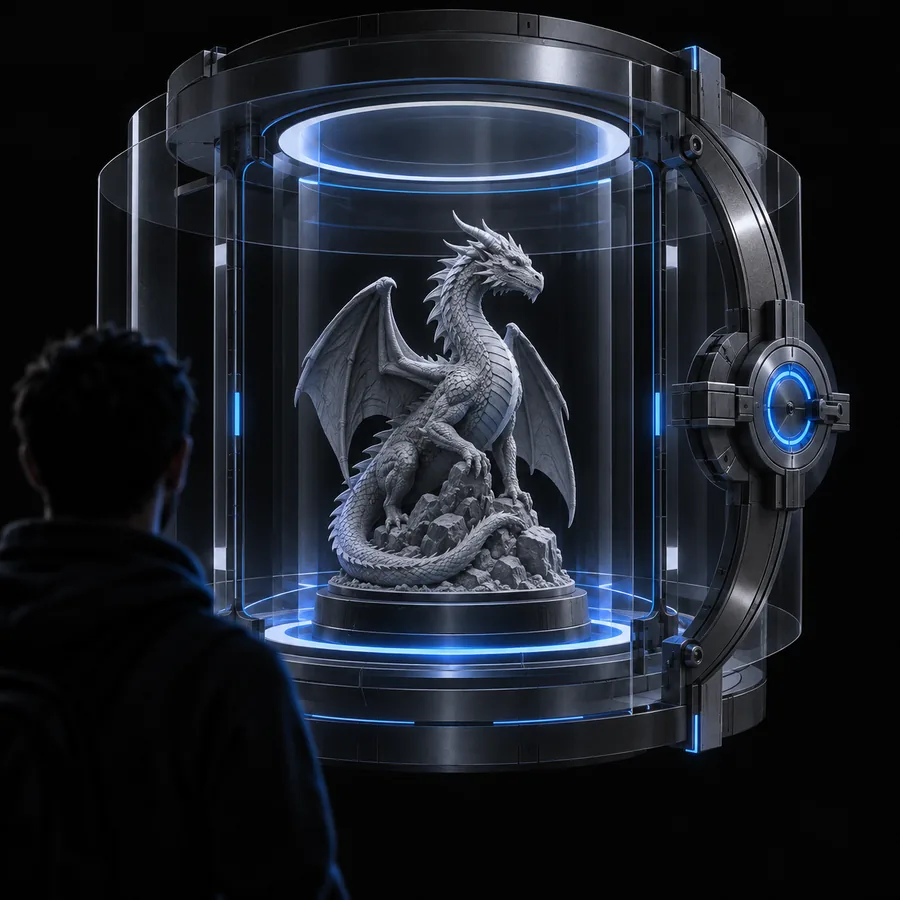
Detailed generated 3D object Generation

Step 2

Build form from intent

Hitem3d converts the brief into a three-dimensional object with recognizable volume, proportions, and surface decisions. This is useful for moving from a sketch-level thought to something you can inspect from multiple angles.

  • Start with one main object
  • Add shape-defining details
  • Review the whole silhouette
Generated 3D model ready for creative work Output

Step 3

Continue in your workflow

The output is best treated as a flexible starting asset rather than a finished production scene. Refine topology, materials, scale, rigging, or presentation in the application that matches your next step.

  • Inspect the model before use
  • Refine details when needed
  • Prepare it for print or Blender

Simple workflow

From prompt to model in three steps

A focused request helps the generator make better decisions and gives you a cleaner result to evaluate.

  1. 1

    Describe one clear subject

    Name the object, character, or scene element you want. Include its role, broad shape, and a few details that must remain visible.

  2. 2

    Generate and inspect

    Submit the prompt or reference and examine the result from different angles. Check the silhouette first, then look for missing parts or unexpected surfaces.

  3. 3

    Refine for the next use

    Adjust the brief when the result is off, then take the strongest version into your preferred workflow for editing, rendering, animation, or fabrication.

Quality check

See the difference between an idea and an asset

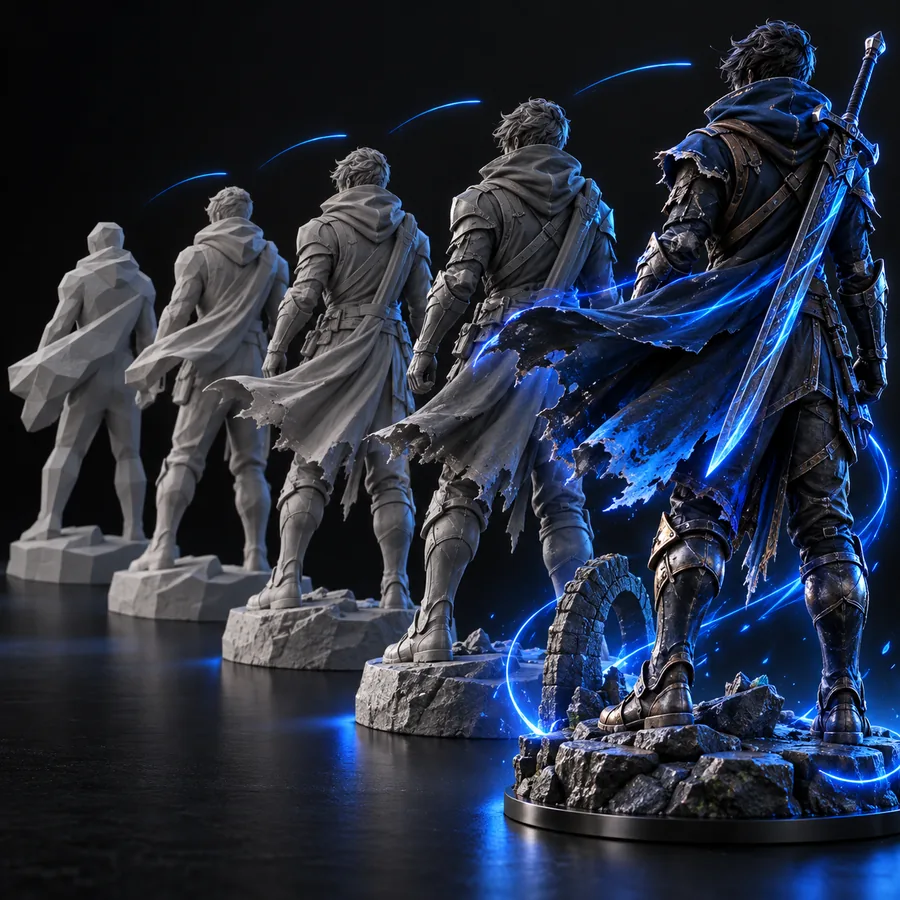
The first pass gives shape to a concept; the useful second pass comes from checking what the model actually communicates.

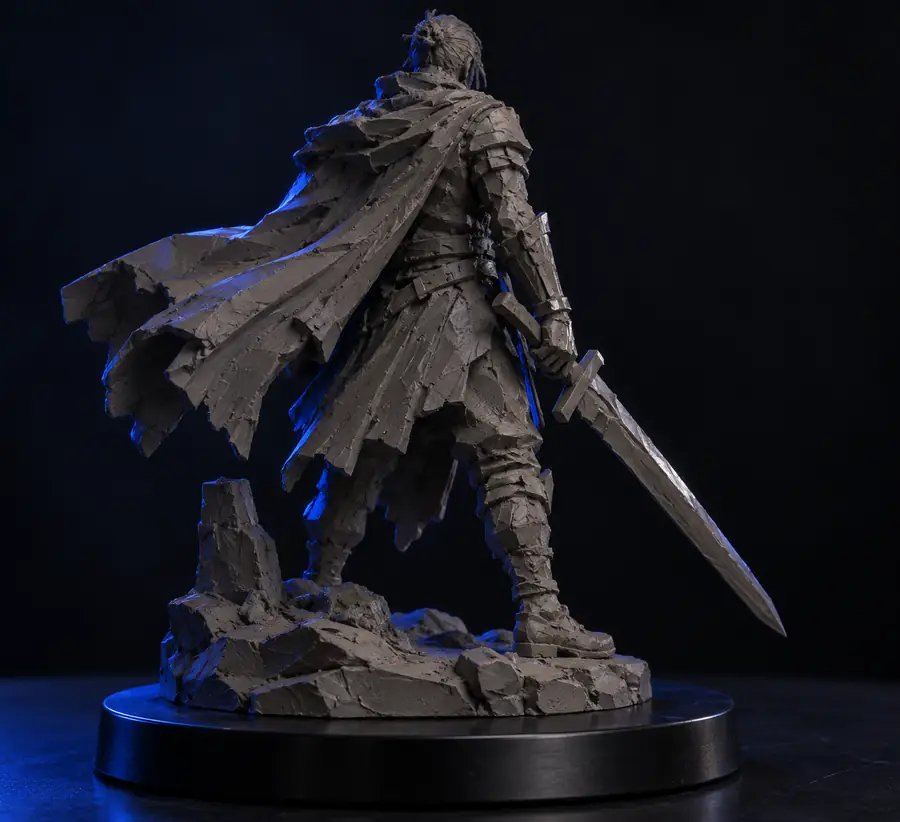
A rough 3D concept before refinement
Concept brief
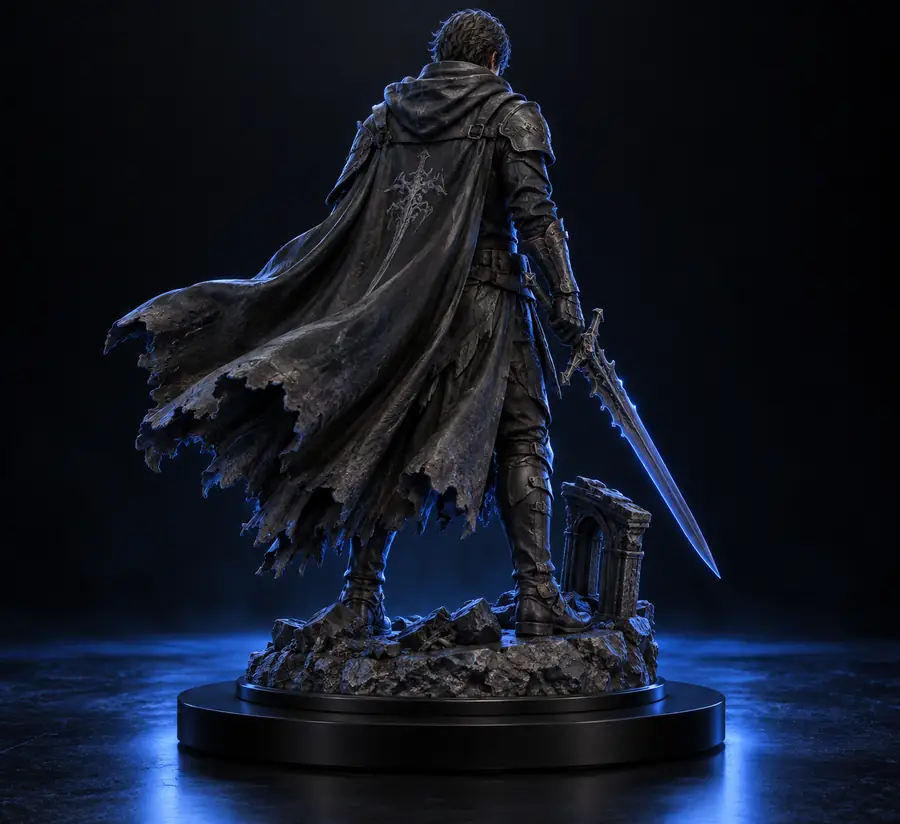
A generated 3D model prepared for the next workflow
3D starting asset

Use the first output to identify what needs a more precise prompt, not to hide the limits of one-pass generation.

Concept brief3D starting asset

Built for makers

A useful starting point for different 3D tasks

The same generation flow can support several kinds of creators, provided the intended use is clear from the beginning.

Concept artists

Block out a creature, prop, or environment idea before spending time on a full sculpt.

You get a tangible form to critique, redraw, or develop into a larger visual direction.

try the concept workflow

Indie game teams

Explore character and prop directions while a project is still deciding on its visual language.

Fast model variations make it easier to compare silhouettes and communicate ideas across the team.

test a game asset idea

3D printing hobbyists

Turn a simple object description into a model concept that can be checked before fabrication.

You can spot proportion or detail problems early and prepare the strongest version for print cleanup.

prepare a printable concept

Educators and students

Use a familiar prompt to demonstrate how language and visual references influence 3D form.

Learners can compare iterations and connect descriptive choices with visible modeling decisions.

make a teaching example

Prompt inspiration

Start with prompts that describe the form

These examples show how a concrete subject, visual direction, and intended character can work together in one request.

  1. 1 prompt, verbatim
    A blue ice dragon with layered crystalline scales, wide wings, curled horns, and a strong heroic standing pose
    Creature concept Subject · silhouette · surface
    Blue ice dragon 3D model example Fantasy result
  2. 2 prompt, verbatim
    A compact brick-style figurine of a cheerful explorer with a backpack, simple block geometry, and clear toy proportions
    Figurine Style · pose · proportions
    Brick style figurine 3D model example Toy result
  3. 3 prompt, verbatim
    A small orange cat astronaut robot with expressive eyes, mechanical joints, a rounded helmet, and a friendly stance
    Character model Character · details · pose
    Detailed 3D robot scene example Robot result

To adapt a prompt, keep the subject stable and change one variable at a time: pose, material, style, or level of detail.

Choose your direction

Shape the workflow around the final use

Think about the audience and destination before generating. The same model can need different decisions when it is viewed, edited, or made.

3D concept model for visual exploration

Concept

For fast visual exploration

Use broad but recognizable descriptions when you are testing directions. The goal is to compare forms and discover a promising path, not to lock every production detail.

  • Lead with the main subject
  • Compare silhouettes
  • Keep revisions focused
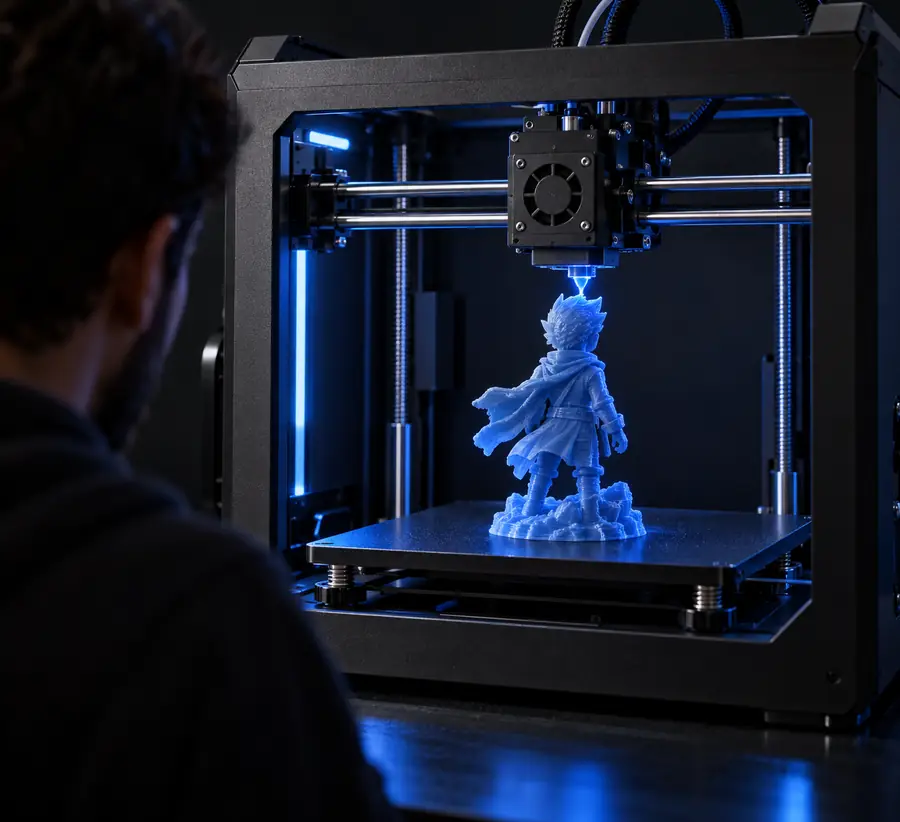
3D printer producing a model

Print

For physical prototypes

Describe a stable object with a clear base, strong silhouette, and details that can survive scale changes. Inspect the result carefully before preparing it for fabrication.

  • Avoid fragile surface details
  • Check the base and balance
  • Plan cleanup before printing
Robot character model prepared for a 3D workflow

Blender

For an editable scene

Treat the generated object as an early asset that may need topology, materials, lighting, and scene organization. A clean brief makes later refinement easier to judge.

  • Name the intended object
  • Keep the style direction clear
  • Expect a refinement pass

Make the first pass

Bring a concrete subject to life, inspect the result, and use the first model to decide what deserves more detail. Start with a focused prompt and refine from there.

Turn a description into a 3D direction

  • Prompt or reference-led creation
  • Useful for concepts, prototypes, and characters
  • A practical starting point for further editing
Generate a 3D model

Common questions

FAQ about the AI model generator

Here are concise answers to the questions people ask when evaluating Hitem3d as an AI-powered 3D model generator.

It is an AI 3D creation workflow that helps turn a written idea or visual direction into a three-dimensional model concept. The result is intended as a starting asset that can be inspected, refined, or carried into another 3D workflow.

You provide a focused description or suitable visual reference, then the system interprets the subject and generates a 3D form. Reviewing the silhouette and revising the prompt are important parts of getting a more useful result.

You can explore subjects such as characters, creatures, props, figurines, and other object concepts. The best results come from describing one main subject with visible shape, style, and pose cues.

Not always. Generated geometry may need inspection and refinement for topology, materials, scale, rigging, or 3D printing, depending on the intended use. Treat the first result as a strong starting point rather than a guarantee of production-ready output.

Start creating
Start creating